Campaign
Campaigns enable you to group mandates and generate the corresponding direct debits.
To use the campaign function, two steps are required:
-
Selecting mandates
-
And creating the campaign itself.
Mandate Selection
You first need to define the conditions for the mandates to be selected into the campaign.
Two methods are available:
You can turn a filter into your selection criterion for mandate to be executed directly from the Extended Mandate page. After completing or just opening the formulaire de création de filtre, click Save as Condition.
Select Entity Condition from the Configuration menu. The list of the existing entity conditions appears.
To set a new condition, click the Create button. Complete the two mandatory fields: Code with the name of your condition and Entity by selecting the location on the platform, here Receipts module.
The window which opens up, presents the relational tree view i.e. the structure of data categories for the current module. All the categories, called properties, together with their relationships are registered.
Click on the one you want: it is automatically added in a new line under the Property header.
This condition is used to sort the mandates for which you want to create the campaign.
For more information on conditions, see the Conditions Definition topic.
Creating Campaigns
In Receipts, select Campaign from the menu Entities.
Click the Create button and complete the creation form which opens.
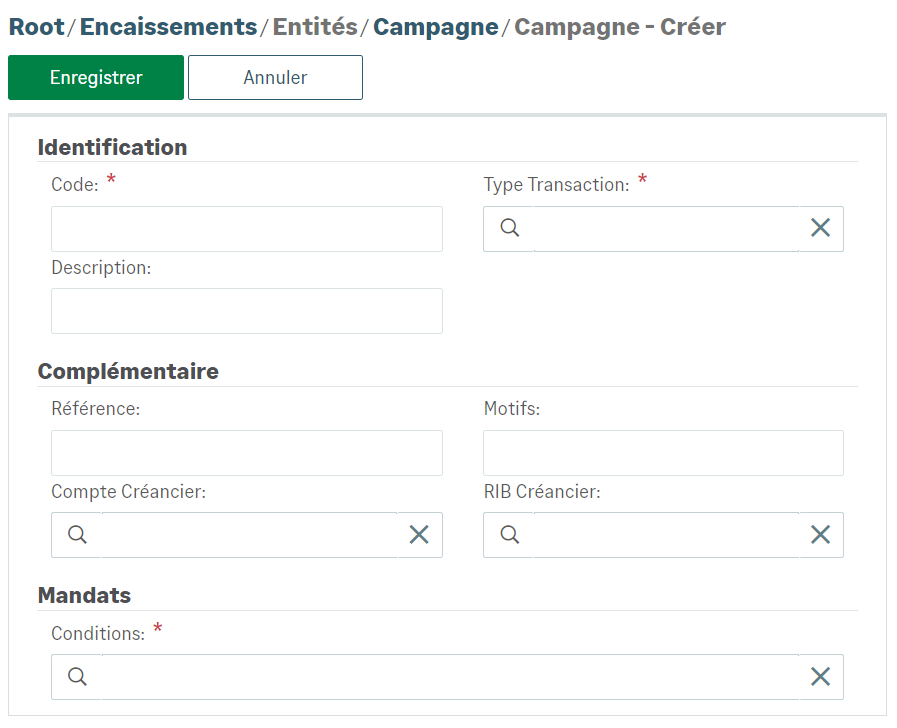
Select your Entity Condition or your Filter condition in the Conditions mandatory field of the Mandates section.
Save this new campaign to view it listed with the other campaigns.
Executing Campaigns
To launch a campaign, select it from the Campaign submenu list, click the Execute SDD campaign button.
To automate your periodic campaign, view the Generation topic.