Filtering Data
The platform offers different levels of personalized display for the data.
This topic explains how you can filter the data presented in the grids![]() Table presenting a set of numerical data..
Table presenting a set of numerical data..
Filtering Results
A filter![]() Function processing information to extract a smaller but relevant amount of data. enables you to search and display data according to the characteristics called conditions, that you want.
Function processing information to extract a smaller but relevant amount of data. enables you to search and display data according to the characteristics called conditions, that you want.
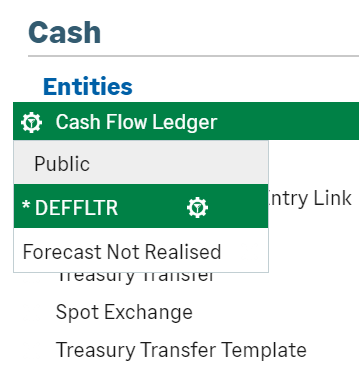
On the screen gathering the module's menus, when you hover the cursor over a menu entry, the button  for filter configuration appears. It enables you to choose a filter for the display of data in the corresponding function.
In each function of the platform, the Filter area located on top of the table enables you to select a filter.
Within the table's columns, you can use filters by activating the Criteria option, between the Filter and View areas.
Important
When you use the function for the first time, the default filter DEFFLTR of each table on the platform does not include any filtering condition: all the data are displayed.
Creating Filters
To start creating and modifying filters, spot the Filter area on top of the table.

If you want to quickly filter the list, you can first use the Filter blue button on the left side of the area.
Click Add Condition.
The complete list of data categories called properties is displayed, enabling you to set up display conditions.
For more information on this setup, see the topic Defining Conditions.
The dropdown configuration menu  on the right presents other configuration options for filters:
-
The Quick filter action from the dropdown list enables you to create a brief filter where conditions specific to the module you use, are ready to be defined.
-
The Create action from the dropdown list opens the complete configuration form for filters.
This complete form enables you to set up all the options for a filter and to save it.
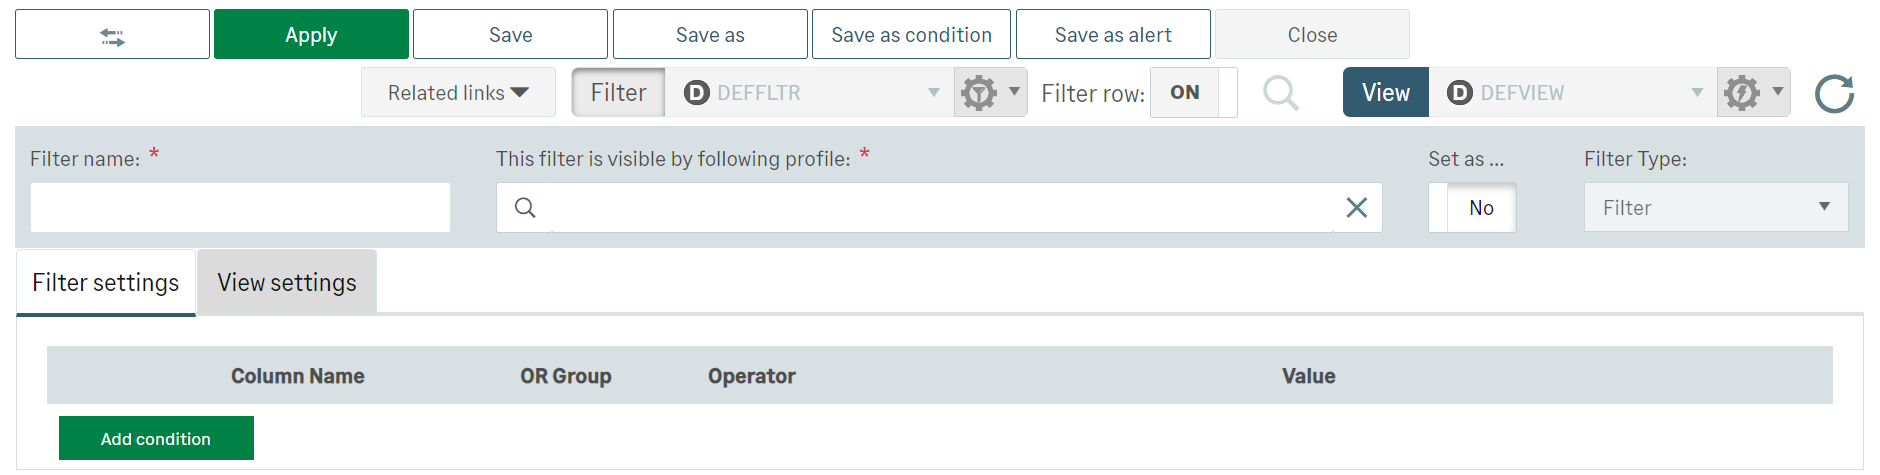
Enter a name to identify your filter in the table.
Important
The Filter name field is only available for filter creation and not for mere modification.
We strongly advise to use different code for the different tables in order to avoid any error during filter exports or imports.
Then select the visibility profile for the filter from these three options:
-
Public
-
Group
-
Private
The last option of the form enables you to make the filter you are creating the default filter.
The Filter settings enables you to define the conditions of your filter, that is to say the precise data you want to view. For more information on these conditions, see Defining Conditions for Filters.
The View settings tab enables you to link a filter to a specific view.

More saving options are available directly under the breadcrumbs trail on the top of the page, these options vary depending on the form opened: Save as, Save as Condition, Save as Alert, etc.
Important
The modification of a filter involves the modification of the view associated with it.
Default Filters
As of the installation, the Filter dropdown menu of each function lists filters ready to be used. They are marked with a D in a circle. You can use these basic filters which meet the main business needs.
You cannot change them. They can be duplicated to be used as templates for new customized filters. To do so, click the icon of configuration corresponding to the default filter you want to duplicate.