Designing User-Defined Fields
The platform offers different levels of personalized display for the data.
This topic describes how to design User-Defined Fields![]() Custom field you create to track information specific to certain subject areas..
Custom field you create to track information specific to certain subject areas..
User-defined Fields are optional fields that you can customize. They enables you to add and control specific and complementary information.
You can set up as many UDFs as you need in Administration module.
Creation
To build UDFs, go to Administration and select Create in the User Fields Setup submenu of User-Defined Fields menu.

The General section gathers the basic options of your customized field.
Enter a Code and a Caption in the corresponding and mandatory fields, as well as potential Notes.
Important
In the Code field, no special character (space, %,!, §, etc.) is allowed.
The Data Type section presents the characteristics to define.
Select the Data Type. This selection determines the fields and options available in the section.
-
For the String type, specify the length, 250 characters maximum.
Activate and deactivate the possibility to create a list of values for the string with the option Specified By Dictionary.
Enable or disable the data input on several lines with the Multi-line option.
-
For the Number type, specify the Length, 15 characters maximum, then enter the number of decimals you want, 4 characters maximum.
Authorize or forbid the option a null amount with Zero Allowed, then the option of negative amount with Negative Allowed.
-
For the Reference type, you can define a link between two entities (company and currency for instance).
The Dictionary Values field is automatically completed, when a list of values has already been defined for the displayed field.
User Fields Links
Once you created the UDFs, you can define the entities with which they must be associated.
In the User Fields Links submenu of the User-Defined Fields, click the Create button.
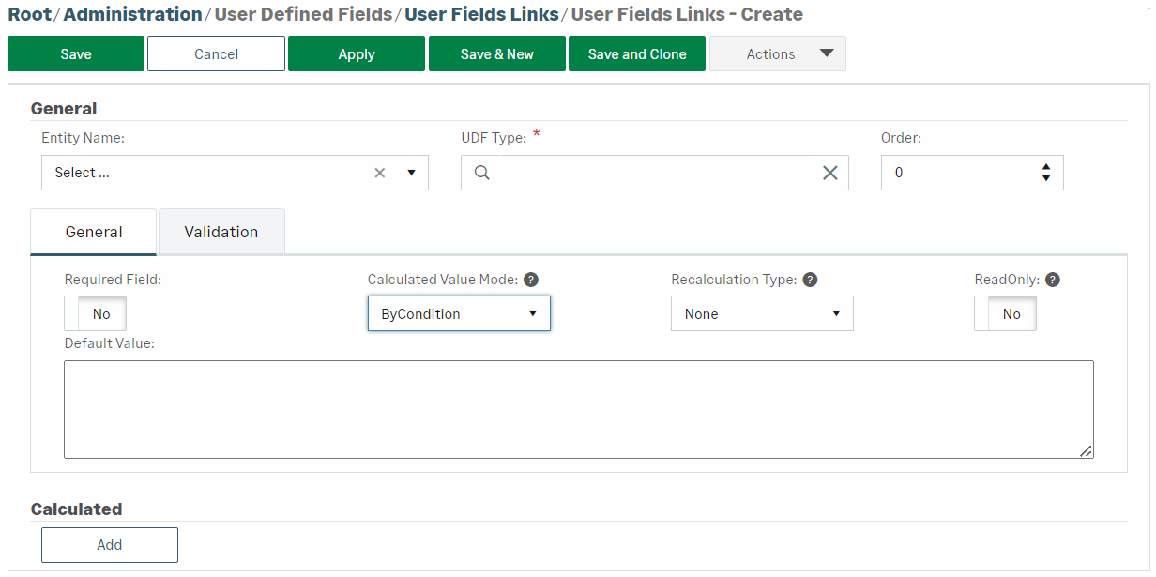
Select an option for the first three options.
The Entity Name field enables you to determine for which entity the UDF must be displayed, for instance Company, Cash Ledger, etc.
Select the type of the UDF created in the previous step.
The Sort field enables the definition of a display order for UDFs. This field can be edited after the field creation.
In the General tab, the Required Field button defines whether a value is mandatory or optional within this new field.
The Calculated Value Mode field enables you to choose how the UDF value is recalculated when you save it.
If the UDF value is calculated, the field can be locked, i.e. it cannot be edited anymore.
-
In Script mode, a simple value or a script (C# prefix) can be used. The Validation tab enables you to enter the validation script.
-
In By Condition mode, the conditions of the list are checked one by one, and the value of the first condition met is used (simple string value). When you select this mode, a second section is displayed to define conditions. Use the Add button and set up your conditions.
The Recalculation Type field corresponds to the recalculation of the UDF value by conditions. This field type can be used for a personalized automatic categorization.
Complete the Default Value field and save your selections.
UDF Dictionary
Setting up this dictionary enables you to define values which are then available for the UDFs.
In the UDF Dictionary submenu of the User-Defined Fields, click the Create button.
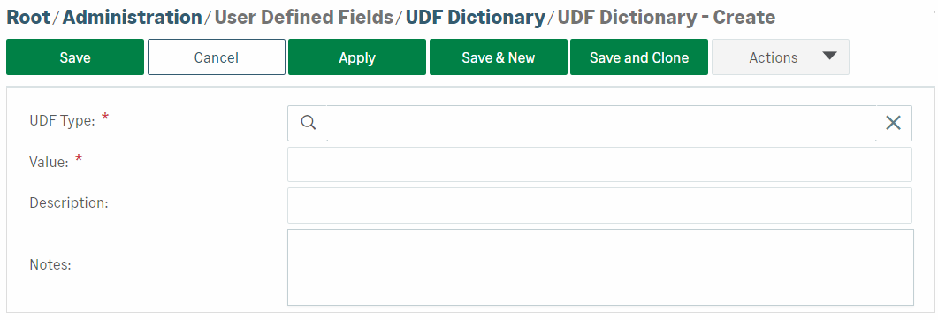
Select the UDF Type for the value you want to create.
Enter a value for the UDF (255 characters maximum).
The optional fields Description and Notes enable you to personalize this dictionary entry.
Do not forget to save this new value.